Sunday, September 6, 2015

Oreo Cake Pops

Time for another baking post! I love posting recipes that I'm in love with, because I've depended on other people's recipes for parties/potlucks that I am always happy to share my recipes with others.

Today I'm going to be sharing my recipe and tips and tricks for making cake pops! The cake pops in this post are Oreo cake pops, but you can do whatever flavor combination you'd like and follow the same recipe.


Here's what you'll need:
- Cake
- Eggs/Oil >> This was what was required to make my boxed cake, so you will need the supporting ingredients for your choice of cake
- Oreos
- Frosting (I used butter cream)
- Candy Melts
- Lollipop Sticks
- Decorating Materials


 I chose to use a boxed cake, for the simplicity and quickness of it. You can choose to make one from scratch, or even use leftover cake from a party!


Step One: 
First step is making your cake. Like I said, I used a box cake. I didn't include super detailed pictures of this step, because it is pretty straight forward! It doesn't matter what size pan you cook it in, because we will end up destroying it after it is done baking.

Step Two:
While my cake was baking, I crushed up my Oreos. The ideal way to do this would be in a food processor, but mine has been in storage since I got out of college so I just had to make it work with my hands. I mashed them up as much as I could with my hands, and then put them into a baggy to smash even further. This was one row of Oreos, and after I added them to my cake I ended up doing a second row. You probably could even do a full package of Oreos!


Once your cake is done baking, this should be  your next set-up. You will want a bowl that you will be mixing your cake again in (I ended up switching to a much larger bowl than the glass one in the photo below, you will definitely want a large bowl). You will also want a cookie sheet, with your lollipop sticks accessible.

Step Three:
You will want to break up your cake. You can use your hands for this, or a spatula like I did. You will want to just start breaking it up as small as you can, and moving it into your large bowl with the crushed Oreos.


Step Four: 
Once you have your destroyed cake, and crushed Oreos in a bowl, you will add frosting. This step is very important. this is what adds the moisture to your cake pop. There isn't an exact measurement that I can give you, because it will depend on how moist the cake you baked is. I started by adding a large spoonful at a time, and I ended up adding three total. I would start with a little, and then just start looking for the texture that you are wanting. The cake should start to stick to itself and your mixer, and you can even stop and try making a ball to see if you have the right consistency. You can never take frosting out of the bowl, so I'd take this step slow.


Step Five: 
You will then mix this all together. Like I said, I ended up adding three full spoonfuls of frosting to my cake mix. You can see in the second photo below the type of texture and consistency that we are wanting.


Step Six: 
You will now start rolling your cake balls! I used a tablespoon just to ensure that all of my cake pops were the same size, but you can definitely eyeball this step and just roll them however you want. I scooped a tablespoon, leveled it off, and then popped it into my hand. You will then roll it into a ball and place it on your cookie sheet. This makes around 40 total, so you will want to place them really close to each other. Also, if you are rolling a ball and notice that it has a big chunk of Oreo in it, you can just pick it out. That happened to me a few times, where I couldn't get a perfect ball because of a big chunk of Oreo that didn't get broken down completely.


Step Seven:
You will now want insert the lollipop sticks into the cake balls. This is another important step. Often people have trouble with cake pops because the cake ball will slide off of the stick when it comes time to dipping them. My little trick here is to melt a few of your candy melts. You will want to dip the end of the stick into the candy melt, and then insert into the cake ball. This will help the stick really adhere to the cake ball, and you'll have a much better chance of them staying on. After you've inserted all of the sticks, you will want to put into the freezer for about 10-15 minutes to really make sure they stick.


Step Eight:
Now it is time to dip the cake pops! You will want to make sure you have your drying station all set up also. I recommend letting them dry cake ball side up in the air. You will see photos below, but you don't want to dip the cake ball, and then return them back to the cookie sheet. This will end up having the candy melt dry as a flat surface, and it won't be pretty. I bought this cake pop stand at Walmart for $3.50 and it worked pretty good! You can also use a styrofoam block, I just didn't have one on hand. You will also need to melt your candy melts at this time. I bought two bags of candy melts, and it was the perfect amount. I melted about half of a bag at a time since this is a time consuming process. I used a cup but you can use a deep bowl also.


 I would do around 4 at a time. I would dip them and put them on the drying rack, and then start with the first one I did and decorate with sprinkles. I do this to let them dry a little bit before putting on the sprinkles. I've found if I go from the candy melt straight to sprinkles, it can weigh down the cake pop and start sliding off of the stick. I used a spoon to cover the cake pop in sprinkles, I didn't dip the cake pop into the sprinkles.


I kept a spoon nearby so that I could stir the candy melt before each dip, this helps it stay really consistent. Once you dip the cake pop, it will look like the photo above, with a lot of extra candy melt hanging on. You will just have to start twirling the cake pop so that all of the candy melt settles and drips off before putting it aside to dry. 


That's really it!! Once they dry, I like to then go back to displaying them cake pop side down. These turned out absolutely perfect. They were the perfect amount of moisture, and the Oreo flavor really came through. I already am thinking of future flavor/color combinations that I want to try out! They were really easy to make, and turn out really good! Please let me know if you have any questions about the process.


Sunday, August 30, 2015

Boxycharm | August 2015

I've lacked on the subscription box posts over the last month, because it's just been so crazy around here! Small update, I actually just cancelled my subscription with Ipsy. They are still one of my favorite subscription companies, but I'm trying to budget my money better as I am about to start an unpaid internship, and this just had to go.

For now, I'm just staying subscribed to Boxycharm. I've been subscribed to Boxycharm for about 4 months now and I truly use the products I get, and they are almost always full sized. So onto August's box!


1. Nios Shield - Leave-In Conditioner >> FULL SIZE $26.00

I love using leave-in conditioners as they help my hair detangle, air dry quicker, and de-frizz. This one has color protection and also has SPF 15 in it. I've never used hair products with an SPF in it, so I'm intrigued. It even says that it helps with scalp sunburns. This doesn't have any type of strong smell, which I'd prefer over a bad smell. I will definitely be trying this tonight after I shower!! The packaging is really luxurious also, seems really nice.

2. So Susan - Statement Skin >> FULL SIZE $20.00

This is a highlighting crayon, which I've never used. I actually just recently got into using highlighters, but I've only used powder form. This is actually really pretty. I put it on my hand when I received it and immediately was like "nope, this is a white glittery stripe" but once I blended it out, it looks so natural and highlighted. I'm actually pretty excited to use this! It does seem a little over priced at $20, but I've never even heard of this brand.

3. MICA Beauty - Gel Eyeliner >> FULL SIZE $35.00

I've received multiple MICA beauty products in subscription boxes, and I'm always really impressed with them! Unfortunately I don't prefer gel eyeliner as my top preference, but I used to only use it exclusively. I will definitely be using this as it looks really nicely pigmented, and seems like a really nice texture. This is such a good product to get in a subscription box!

4. Seta - Eyeliner Brush >> FULL SIZE $16.00

I've said it multiple times, but one of my favorite things to get in boxes is makeup brushes! They are just something that I never go and shop for, but I'm always needing more. This is a perfect combination to get alongside the gel eyeliner, and I will definitely be trying the duo soon! Happy about this product.

5. Coastal Scents - Revealed 3 Palette >> FULL SIZE $39.95 (usually on sale for $19.95). 

In my very first Boxycharm, I received the Revealed 2 Palette, and I actually use it a lot! I'm happy to get the Revealed 3 palette also! These are great values, and I'm happy to add it to my collection! The colors in this palette aren't colors that I'd normally gravitate towards, pinks and purples don't suit my skin color and tone, but I'm happy to add them to my collection! The golds and browns on the top row are definitely more my style!

>>>>>>>>>>>>>>>>>>>>>>>>>>>>>>>>>>>>>>>>>>>>>>>>>>>>>>>>>>>>>>>>>>>>>

This is why Boxycharm is my favorite box! I paid $21 for this box, and I got $117 worth of product (this is counting the eyeshadow palette at $20 instead of $40 because it's always on sale).

I am actually excited about ALL five full sized products in the box this month. Another happy customer of Boxycharm! :)


As always, thanks for reading.
xoxo, Jaimie

Sunday, August 23, 2015

ARUBA | AUGUST 2015

When I posted my vacation summary from Maui, it surprisingly had a lot of views, so I figured I would do the same thing for my recent trip to Aruba.

If you are new around here, I'll give you a little bit of background information. I was on Wheel of Fortune in March of this year. If you want more information on that process, you can check out my blog post about that here. One of the prizes I won on the show was a vacation to Aruba! The planning process was fairly easy, I gave the Wheel of Fortune representative three options of dates we'd like to go, and then she really took care of the rest. Airfare and hotel was included, and they also gave us spending money.

TRAVELING: 
We traveled from Washington State to Aruba, which was pretty exhausting. It was around 14 hours of traveling, between two flights and layovers. Everyone we met down in Aruba was from the east coast, and I can see why! I wouldn't ever say no to traveling to the Caribbean again, but I would definitely invest in first class seats so that those long flights are extra comfortable! I always make sure to get a window seat, and during the flight there, I was very glad for that! The water as we got closer to Aruba was so beautiful, I couldn't stop taking pictures!!


Night One:
We landed around 3:30pm Aruba time, and had been traveling since midnight Washington State time, so we were really exhausted. Once we got to the room I immediately took a nap to get caught up on sleep and get used to the time switch. We then just explored the beach path and found a little bar to have dinner at before turning in early for the night to catch up on more sleep.


kimono from: Generation Peace
black v neck from: Target

Day Two:
Since this was a free vacation, we spent the majority of the vacation just relaxing on the beach. I didn't want to have to spend a lot of money on excursions and activities, because I honestly just wanted to relax and take advantage of this and have it feel like a true prize. Wheel of Fortune did send us with spending money, which covered cab fares, meals, luggage charges, and a few activities we did. We also spent a few nights at the Casino, Aruba is famous for their FOURTEEN casinos on the tiny island. We did "splurge" and use some of our spending money to gamble one night. It was really fun and the atmosphere in the casino was really fun. I didn't get any pictures there, but we spent some time there as well.

 We stayed at Divi Resorts, and the beach right outside of our resort was AMAZING. There were about 10 people on this beach daily, and usually 0-5 people in the water. It was so calm, no children running around or drunk people. There are a few popular beaches on the island, but we never felt the need to leave ours since it was so peaceful.

Fun fact about Aruba: totally casual for iguanas to be running around. The first two days this kept freaking me out, and it was so weird, but by the end of the vacation, it was just like seeing a squirrel or bird walking around.

This was a lunch spot at our resort on the beach that we ate at. 


this was a little bar on the beach that you could order drinks at all day


Day Three:
Same drill :) Relaxing on the beach with a good drink and a good book. I read Dark Places while I was there. I'm still not completely finished. I planned on finishing it on the plane ride home but was pretty motion sick on the way back so I didn't get a chance to finish this yet, it was a good beach read though!!

Day Four:
We explored downtown Oranjestad this day. Oranjestad is the capitol of Aruba, and it was about 10 minutes from our resort. There were three malls downtown, and they are all walking distance of each other.


This hotel/mall had a little channel that goes through the hotel that gives people rides out into the ocean. It was pretty cool! 

Day Five:
We, of course, laid on the beach again this day. After laying out all day, we went into another downtown area, Palm Beach. There were more shops down there that we explored, and then we ate at the Hard Rock Cafe.


After dinner, we stumbled upon this bar that is out on a pier and basically is over water. It was so beautiful, and we happened to find it right at sunset.


Day Six:
We decided to do a pretty big excursion this day, and we don't regret it! We did the Island Jeep Safari Tour through the company ABC Tours. I highly recommend this tour, as their hospitality was amazing and it allowed us to see parts of the island that we would have never been able to see. They offer 4-5 different tours depending on the time of year, but we took the North Coast tour, which brought us along the north coast of Aruba. As you can see, it is on a Land Rover truck, and you sit in the back of it. It is a total off-roading experience, but it was really fun! I did take motion sickness pills before going on this (I have a really weak stomach), but I don't think I needed them. It wasn't as crazy as I was expecting but it was still really bumpy!
 The first stop was this rock garden/park place where we climbed to the top of this rock and overlooked the entire country.


We then went to see the Natural Bridge. The actual "Natural Bridge" in aruba collapsed many years ago, but there is still this small one remaining (We are standing on it in the below photo).


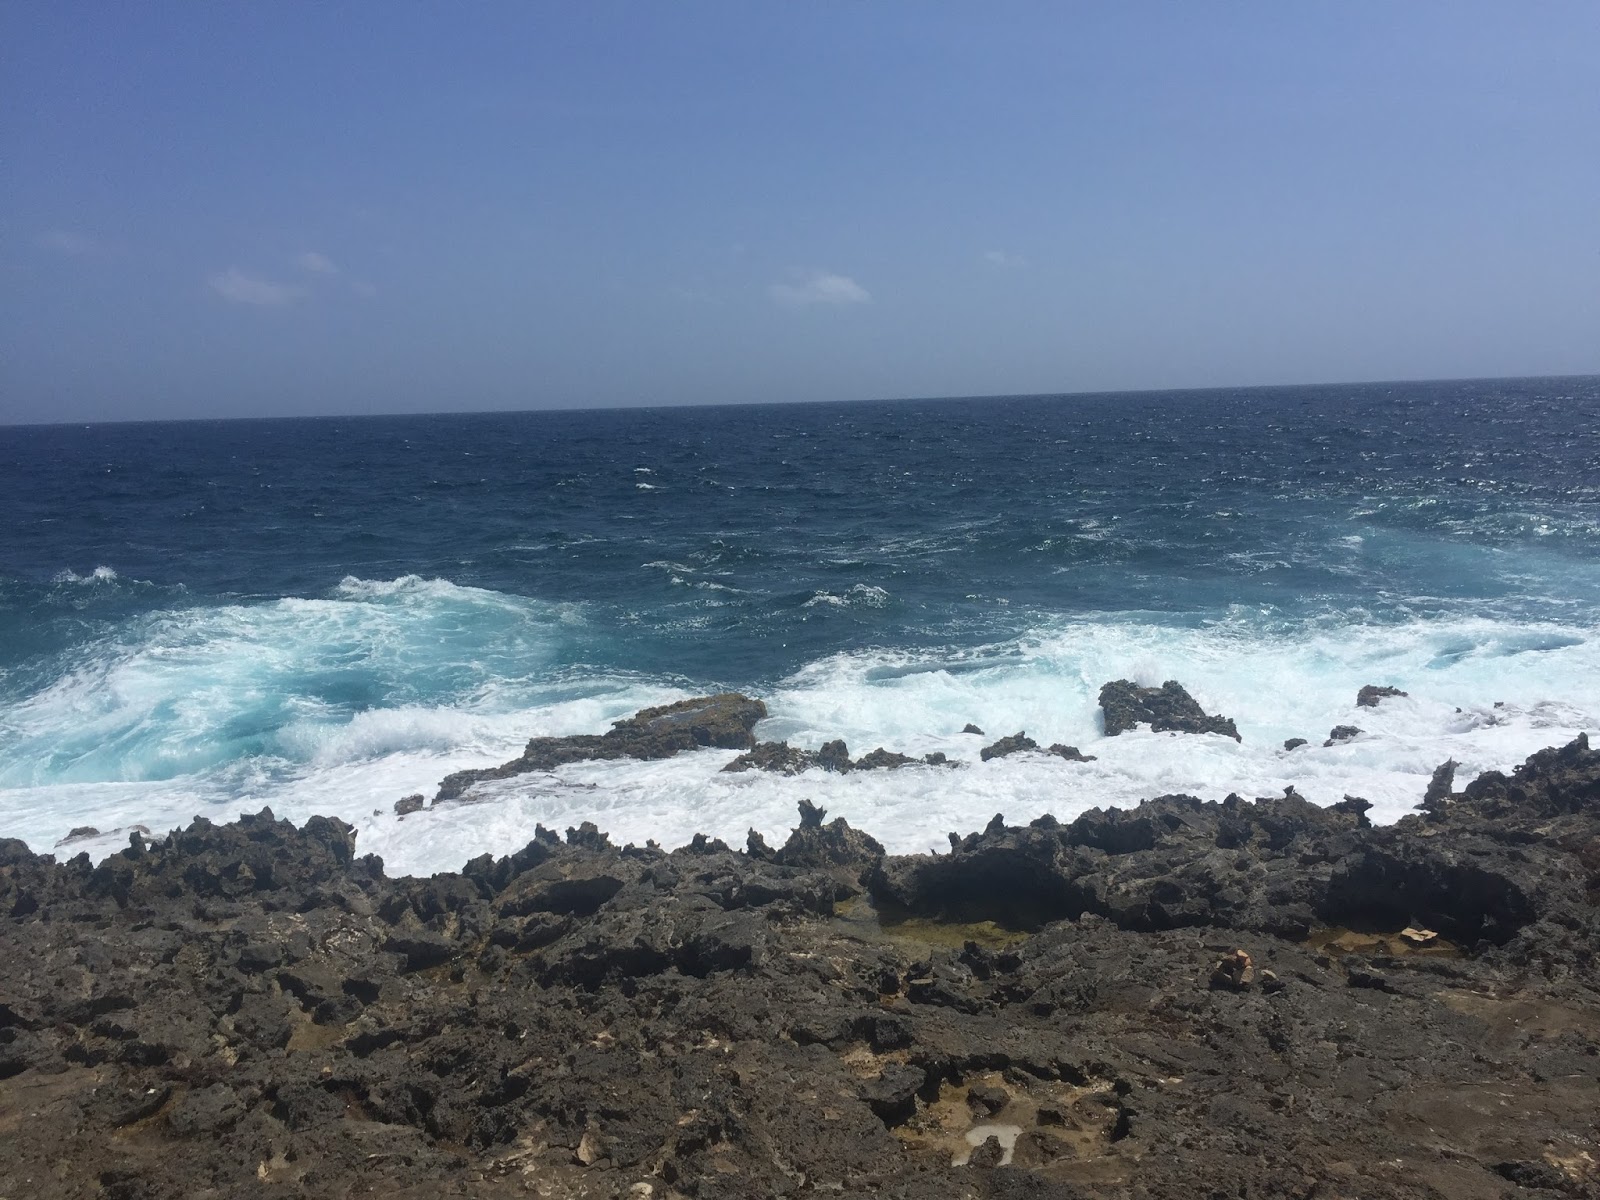
The next stop was Blackrock Beach. Exactly what it sounds like, it is made up of black rocks and sand. Our tour guide said this is from the emulsion of volcanic rock, which is why the sand is black.


I think I just took this photo out of the back of the truck, I don't think it was a specific landmark. The north side of the island is very "desert like" and looks totally different than the high-rise hotel end that is very touristy and tropical.

We then went to the Rock Wish Garden! This was something that I saw on Pinterest was a "must do" in Aruba, so I was happy that this tour stopped there. The tour guide explained the story behind this rock wish garden, and it just caught on that you are supposed to stack your lucky number of rocks and make a wish. I couldn't leave without doing this, so I stacked up three rocks and made a wish.


The same stop that the Rock Wish Garden was at, had this old gold mine at it also. The tour guide told us about the history of gold on the island, and it was really interesting to learn a little more about the actual country we were in. You could go inside and climb to the top if you wanted also, it was pretty cool!


We quickly stopped at another landmark where there was another pretty Natural Bridge. We didn't stay at this location long because a dead horse had washed up on the beach from the ocean. There were little girls in our tour group who have horses at home so this stop turned into a little emotional stop for some as there was literally a dead horse sitting on the beach. Our tour guide called 191 (911 for us) and reported it and then we moved on.


 The next stop was at a famous church in Aruba. We happened to hit this stop at the same time as a few other tour companies, so there were a ton of people here that we didn't get to go inside.

 One of our last stops was at the California Lighthouse. I've never been this close to a lighthouse so it was pretty cool to see such a unique part of Aruba's history. We weren't able to go inside but it was a good photo-op!

 After the lighthouse, our last stop was snorkeling at Catalina Bay. If you read my post from Maui, you know that my favorite part was snorkeling. I think it is just the coolest thing to see fish in their natural habitat! I have a thing with marine life, it fascinates me. The snorkeling here wasn't the greatest, but it was still great nonetheless. I did see a gigantic starfish, which I've never seen before, it was seriously enormous!!

Last Day:
We spent our last day soaking up the rays on the beach again. How could one complain?

tank top: Old Navy
short: Target 
sandals: Nike

The last sunset :(


Oh, and fun fact? I won another vacation while I was there! I will have to pay for my flight, but I will take a free 8 days at a resort any day! I can choose from MULTIPLE places, so I will probably take advantage of this for my graduation trip after I finish my masters! So until then, this is your yearly dose of vacation pictures :)


As always, thanks for reading.
xoxo, Jaimie
BLOG DESIGN BY DESIGNER BLOGS