Sunday, March 29, 2015

Double Sided Easter Oreo Bark | Quick and Easy!

I'm back on the blog with another baking post. I love making Oreo bark during the winter, and adding candy canes to make peppermint bark. I wondered how I could tweak my recipe to get an Oreo bark for Easter. I came up with this double sided Oreo bark that is so delicious! It is extremely sweet, and looks like you have some mad baking skills (you don't need them!)

Here's what you will need:

Candy Melts (You can also use Almond Bark)
Oreos
Decorations

Yeah, that is all you will need! You can really transform this recipe depending on what occasion you are making it for, and what your family likes as a sweet treat.


Step One: 
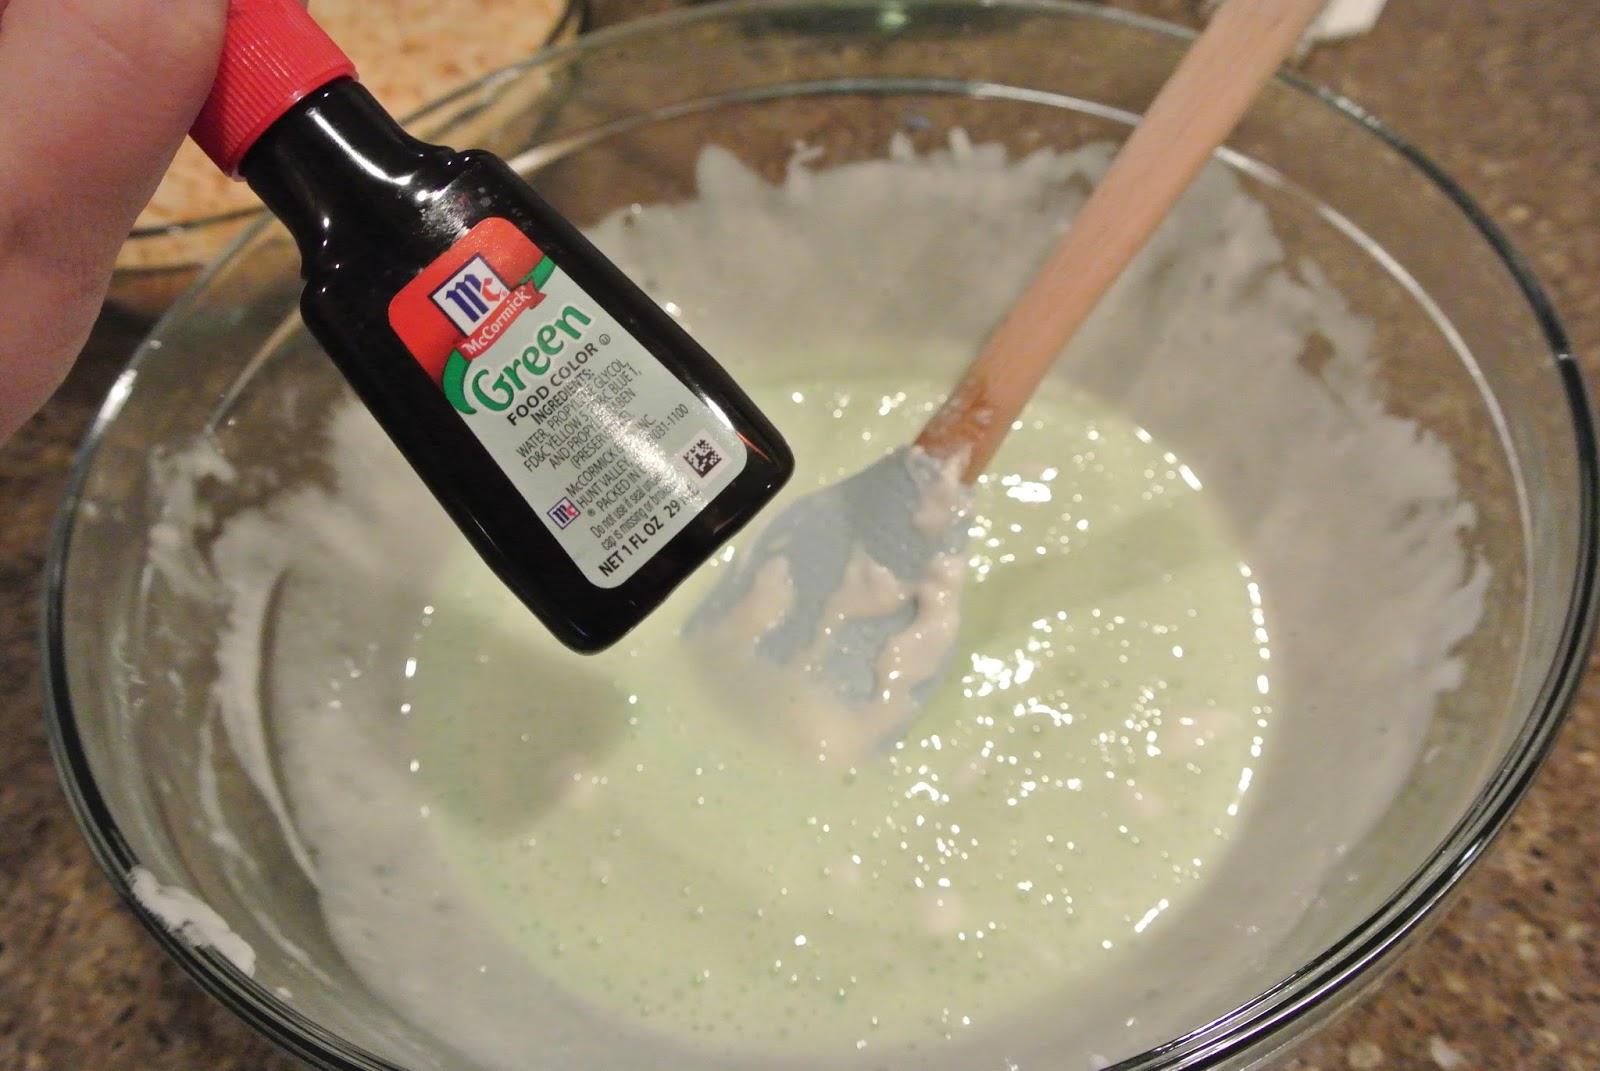
Melt your bottom layer candy melts. I prefer to melt mine in the microwave, but some people prefer over the stove. I like my baking/cooking to be quick and easy, so the microwave is the easiest method for me. I put it in a microwave safe bowl, and warm it up in 30 second increments, mixing in between. This usually takes two minutes total.
 I decided to swirl some pink candy melt (melted in the microwave the same way) but this is an optional step.

Once your candy melts are completely mixed, you will pour it onto a baking sheet. You will then use a spatula, or the back of a spoon to smooth it out to the desired thickness that you would like. The sides don't need to be straight or even, that is really what is so great about candy bark, it doesn't have to be perfect!

Once I poured my purple candy melt on the baking sheet, I lost some of the pink swirls that I made while mixing. I decided to top it with even more pink candy melt mixture, and then swirl it around with a toothpick to make really nice swirls. Again, this doesn't have to be perfect or even, it is a very simple process that will look great once it's done!

Step Two:
Put the bottom layer in the fridge for 15 minutes. You want this layer to harden, but it doesn't need to be 100% hard. I found that 15 minutes was the perfect amount of time to pop the baking sheet in the fridge. Once I had about 5 minutes left of hardening, I started the next step.

Step Three:
Melt your top layer candy melt. I found these marshmallow flavored candy melts (amazing!!) and they worked great. I melt it the same exact way that I did the previous steps.
After it was completely melted, I added in my Oreos. I used one sleeve of Oreos from a traditional package of Oreos and just broke them into smaller pieces with my hands. I chose to use the spring Oreos, they still taste the same but have yellow cream so it tints the candy melt a little bit.

Step Four: 
Flip your bottom layer candy melt over. It should be hardened enough that you can use a spatula to get under one corner, and the rest should come right along with it. If you are having trouble flipping your candy melt layer over, then you should let it harden longer. It shouldn't be difficult, and should flip over with no problems.
 This is what it looks like flipped over. Now all of the swirly designs we made are faced down on the baking sheet, and will be the bottom of our candy bark pieces.

Step Five: 
Pour your top layer candy melt over the bottom layer that has been hardened. This layer is a little harder to smooth out since the Oreos are in there and it doesn't smooth out as easily. Just keep working with it to make sure it is smoothed out evenly. Once you get the top layer smoothed over the bottom layer, you can decorate it however you would like! You can keep it with just the Oreos, or you can add to it like I did. I added white chocolate MNM's, as well as some spring colored sprinkles.

Step Six:
After you have decorated it, you will pop it back in the fridge. This time, let it sit in there for about 25 minutes or so. This just ensures that it is completely hardened, and makes the next step a lot easier!

Step Seven:
Break the bark apart in smaller sections. This is really easy once you get started. You really just start cracking the bark. Some people like to stick a butter knife in the middle and twist it, and it will help start some cracks for them. I prefer to just start at a corner and break pieces off one by one. I love making candy bark because the sections don't have to be perfect, some pieces are large, some pieces are small, and some pieces are weird shapes, it all works out!

Here are what the two sides look like on one piece of candy bark.

So there is my candy bark recipe. You can really spice this up however you would like. I REALLY want to try doing a three layered candy bark for 4th of July with Red, White, and Blue layers, I think that would look really cool! You can add as many or as little decorations as you would like, that is what is so great about this yummy dessert. It seems like there are a lot of steps, but you can just do one layer, and it takes around 10 minutes to complete the process!


As always, thanks for reading.
xoxo, Jaimie.

Saturday, March 21, 2015

Stitch Fix #1

If you guys haven't heard of Stitch Fix before, let me do a quick explanation of it, you'll thank me later. Stitch Fix is a company that matches you up with a personal stylist, you order a "fix" and then your stylist sends five items directly to your front door. You get to try them all on in the comfort of your own home, you get three days to make your decision, and then pay for what you keep. Simple enough right. They provide a pre-paid shipping envelope for you to send the clothes back that you won't be keeping, so no shipping charges to worry about.

This isn't a monthly subscription, this is something you "schedule" at your own convenience. You can sign up to have them come automatically every month, but I will be scheduling mine. I probably will do it again in a few months. The pieces in the boxes are usually a little higher prices, based off a lot of the blog post reviews that I've read. If you aren't one to normally spend a little more money on clothing, then I'd recommend reading multiple blog posts before scheduling your fix so you can see the generic prices of things before they get sent to your door.

There is a $20 styling fee. When your stylist picks out your items, you card will be charged $20. If you return all the items, and don't keep anything, then there will be no future charges, just the original $20 styling fee. If you keep anything, even just one item, that $20 is applied toward that item. So regardless you are going to pay $20 every time that you schedule a fix, so it will either be in the form of the styling fee, or toward your clothing piece(s) that you choose to keep. This part was a little hard for me to understand at first, but toward the end when I talk about paying for my items, it might make more sense! Oh, also if you choose to keep ALL of the items in your box, you get 25% off!

Ok so now onto my box! Before your box comes, you fill out a very detailed style profile on the website. You tell the stylist all about your style. For example, I let her know that I don't wear dresses a lot, I'm not interested in receiving jewelry, and if there were any colors that I tend to stray away from. I kept my profile pretty open minded, because the reason I did Stitch Fix was to branch out, and try new patterns/textures/styles that I wouldn't normally buy. So below you will see the five items that my stylist picked out for me.

*I'm hoping for my next box I will get photos of me actually trying on the clothing. Just didn't work out this time around. They will be much better quality next time (YES, there will be a next time!) ;) 


1. 41Hawthorne - Arrow Print Tab-Sleeve Blouse ($46)
I loved this top. It is long enough to cover my bum, but doesn't look like a dress. It fit me so perfectly, wasn't too loose but wasn't tight at all. It was a blouse that I can dress up or dress down, which are my favorite types of clothing. I will be starting my internship for graduate school soon and I'm trying to develop my professional wardrobe a little more with stylish pieces and this falls right into that.
Verdict: Kept!  

2. Staccato - Raelene Striped Draped Front Cardigan ($48)
My stylist really hit the nail on the head with my first two pieces. I am in love with this cardigan. I love cardigans, especially in the spring where it isn't cold enough to need a jacket, but not warm enough for just a tee or tank. This is a very flattering cardigan since it has that angle in the front, I love the gray and cream together and it can easily be dressed up or dressed down. When trying this on, it was so extremely thin, that I didn't feel confident that it would rip or snag easily while washing or even just while wearing it. It was almost see through actually, that is how thin it was. For $48, I didn't want to risk this ripping on me.
Verdict: Sent Back

3. Renee C. - Ventura Keyhole Top ($38)
This is not normally something I would pick out for myself in a store, but I don't hate it. I like the color combination, but I'm not crazy about it. It was a little too short for my torso, which ended up making me look really boxy. I tried this on with shorts (Aruba potential?) and it just wasn't flattering on me. I think this has a lot of potential, but the style and cut of the tank just didn't flatter my long torso.
Verdict: Sent Back

4. Look by M - Nathan Treat Pattern Infinity Scarf ($28)
Not much to say here. It is a basic gray infinity scarf, with a plain gray side and then a textured gray side. I really do like this scarf, but I'm not paying $28 for a scarf when I already have so many that I've paid less than $10 for. I am not one to splurge on a scarf because I don't wear them that often.
Verdict: Sent Back 

5. Marggaret M - Emer High Waisted Tall Trouser ($98)
OKAY. No. First off, I forgot to take a picture of this item and I can't find one online. I'm not sure what these pants were supposed to be. They fit like leggings, but were the texture of dress slacks. They fit me so wrong, they were way too big on the waist, but way too tight on my thigh, but then big again on my calf. My legs are pretty well proportioned so I've never had this issue with any pants. They are also almost one hundred dollars. Even if these ended up fitting me I wouldn't keep them. I do wear slacks to work, but I've found some great ones from TJ Maxx that are under $30 and work just fine.
Verdict: Sent Back Happily. 


So that was my first Stitch Fix. My stylist let me know that it is really common for people not to like anything out of their first box because they are just beginning to know your style. After you receive your items, you go online and fill out your ending survey. It walks through each item and you can select what you did and didn't like. I took this time to tell my stylist that I'm not going to splurge on a scarf, I have a longer torso so the tank top didn't work, and the pants were a total fail. This will help her better pick out my next Stitch Fix.

So I just kept the first item, the blouse. Here is how I was charged.

- When I scheduled my fix, I got charged $20.
- The blouse was $48.
- I've already paid $20 for styling, so I then just pay $28 at the time of my exit survey online.

So in the end, you still are paying the price of the item, but if I didn't keep anything, I would basically pay $20 for nothing. It is a weird concept, but makes total sense once you do it! If you have any questions, or if I left anything out let me know and I will try my best to answer, or find you an answer!

If you schedule a fix through my referral link (Click on "Stitch Fix" below) I will receive a small commission that will apply toward my next Stitch Fix (which will keep great blog posts like this coming!).


Schedule your own Stitch Fix!! As always, thank you so much for reading.
xoxo, Jaimie.

Saturday, March 14, 2015

Quick and Easy St. Patrick's Day Treats

Is anyone else freaking out that St. Patrick's day is next week? I feel like it was just Christmas, this is crazy! I wanted to make a fun treat last night, so I whipped together my favorite rice krispy treat recipe, and added some festive decorations. You can really decorate these for any holiday that you would like, I just thought I would share the way I made mine last night.

So first off, here's what you will need!

For the treats:
10oz (1 bag) of mini marshmallows.
1/4 cup (half a stick) of butter.
6 cups of krispy rice cereal.
Green food coloring

For the decorations:
10oz (1 bag) of candy melts in your color of choice.
Sprinkles of your choice
Popsicle/Lollipop sticks (if you would like yours to be handheld)
Any other decor that you choose


Step one: 
The first step is melting your butter and marshmallows. Some people choose to do this step over a stove, but I like things quick and easy in the kitchen so I just pop mine in the microwave. Put your butter into a microwave safe bowl with your mini marshmallows. Then pop it into the microwave in 30 second increments. This usually takes 2 minutes total, but make sure to stir in between each 30 second increment. 


Step Two:
If you want to color your actual treats, then you would add food coloring to the marshmallows at this time. I added exactly one drop, and got the green color pictured below. I wish I would have done 3-4 drops, because once the treats are all mixed and done, the green didn't really show through. Bummer.


Step Three:
After you colored your marshmallows if you choose, you will want to fold in your cereal. I use a good spatula and really just make sure to fold the mixture, as opposed to stirring it in a circle. I grab from the bottom and fold it over the top, until everything is mixed together.


Step Four:
You will now want to dump the mixture into a 9x13 pan (or whatever size you choose). A 9x13 pan makes around 16 treats. This part can usually be the most frustrating because the mixture gets really sticky and doesn't like to cooperate. A quick tip for you, if you wet your spatula, it makes this process SO easy. Obviously you don't want to soak the spatula and make your treats wet by any means, but just a quick run under the sink will let you press down your treats without them being extra sticky and not cooperating.


I also like my treats really packed down, this step is totally optional. Some people like their rice krispy treats more "fluffy" and falling apart as you eat them, but I prefer mine to be a solid bar. This step is also pretty mandatory if you are choosing to stand yours up to serve them. If you are wanting to stand them up to serve, you will have to pack down the treats so that they are more solid, and can hold a form. I also recommend wetting the spatula for this part, to press them down. In the picture below, I've pressed down the left side, but hadn't yet done the right side.


Step Five: 
Let cool/harden. This step usually takes around an hour, and is usually my least favorite step, waiting!! Now if you're just going to eat them, you might not have to wait that long but if you are planning on standing them up, or decorating extravagently, you want them to be pretty solid and completely set.

Step Six: 
DECORATE! I didn't get the best photos during this step. My camera is white and I was terrified to get candy melt on it so I didn't risk taking too many photos during this step. Just know that you can decorate however you want, based on what holiday/theme you are going for. Candy melt is a great way to decorate treats. You melt your candy melts just like you would the marshmallows, in 30 second increments, stirring in between, this also usually takes about two minutes. You can dip the treats in the candy melt, or decorate the top of the treats with it. There is no right or wrong way to do it, which doesn't make me feel too bad for not getting the best pictures of this step! 


 *if you are wanting to stand your treats up on lollipop sticks, be sure your treats are VERY packed down, and completely dry before decorating. Mine could have dried a little bit more, causing some of them to not want to stay standing up.


Well there you have it, my quick treat I made last night. Rice krispy treats are always good, and always a crowd pleaser! My reader feedback survey in the winter asked for more cooking/baking posts so I will try to do more of them! 


As always, thanks for reading. 

BLOG DESIGN BY DESIGNER BLOGS